Overtime Method
Introduction/Purpose:
The purpose of the overtime method is to manage and calculate the overtime hours worked by employees. Overtime refers to the additional hours worked by an employee beyond their regular working hours, typically exceeding the standard daily or weekly limits defined by the organization.
How To Navigate:
The navigation to record an Overtime Method in the HRMS system typically involves the following steps:
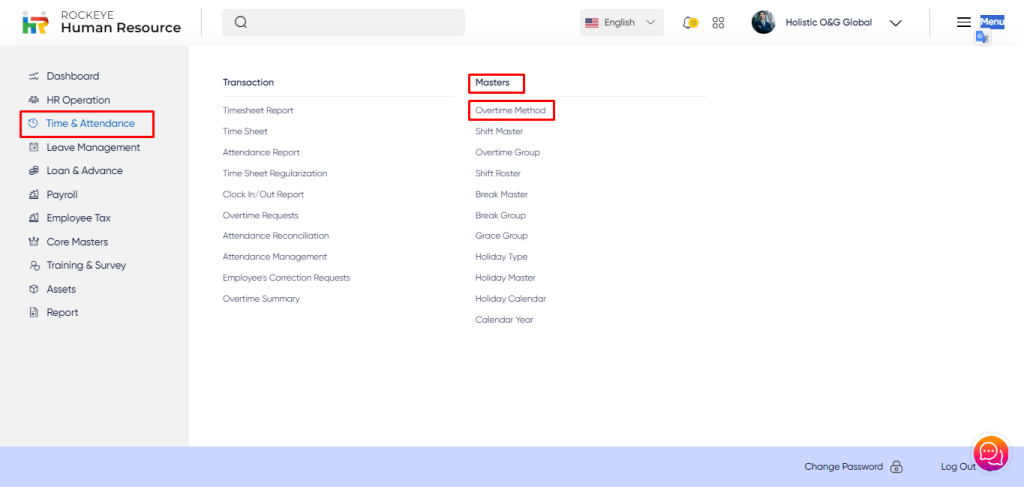
- Click on the main navigation icon which is located on the top right corner of the screen then click on the Time and Attendance section which is located on the left side menus on the screen.
- Click on the Overtime Method section which is located in the Masters under Time and Attendance. After clicking on this link you can navigate to Overtime Method Listing.
Listing:
The Overtime Method allows users to view all approved & pending Overtime methods. The key features of the Overtime method record listing are included below:
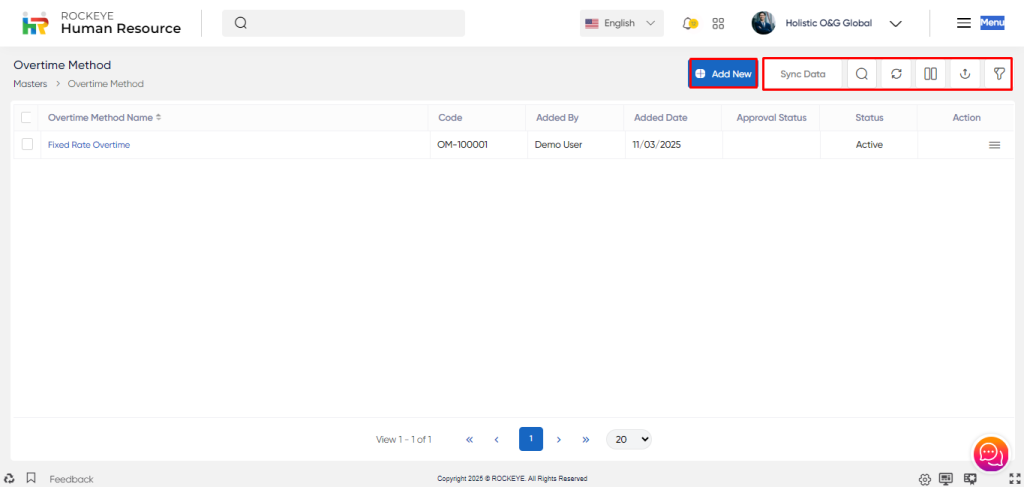
- Record Filter: The filter option allows users to filter the list of records based on visible columns, such as:
- Overtime method name,
- Code,
- Added by,
- Added date,
- Approval Status,
- Status.
- Advance Search: This option allows users to filter data with single or Multiple criteria in Column Name with options like:
- equal
- Not Equal
- Begins
- Does Not Begin with
- Ends With
- Does Not End with
- Contains
- Does Not Contain
- Export Data: Selected Records, Current Page records or All records can be exported by users with listed Columns or All Columns to a spreadsheet or other file format for further analysis or reporting.
- Hide/Show Column:
- This option allows users to customize columns by adding/removing columns to display from the Listing page.
- In this option user have to select the column which they want to view in the list, if the user unchecks/unselect all column then the system will give an error message that “Please check at least one column”.
The user can view the following action in this section:
- Ok: On clicking the "Ok" button, the user can submit the checked option, and based on the selection, the column will display to the user in the list.
- Cancel: On clicking this button the user can cancel the check column.
- Delete:
- The Delete option allows the user to delete the record. The user first has to select at least one record; otherwise, the system will give an error message "Please select at least one record".
- After clicking on the delete button, a pop-up message will appear: "Are you sure you want to delete the selected record?"
- Along with this message, the user can perform the following actions:
- Delete: This option allows the user to delete the selected record.
- Cancel: This option allows the user to cancel the selected record and go back to the Overtime Method listing
Recording & Update:
Users can add a new Overtime method by clicking the “Add New” Button and filling in the below field.
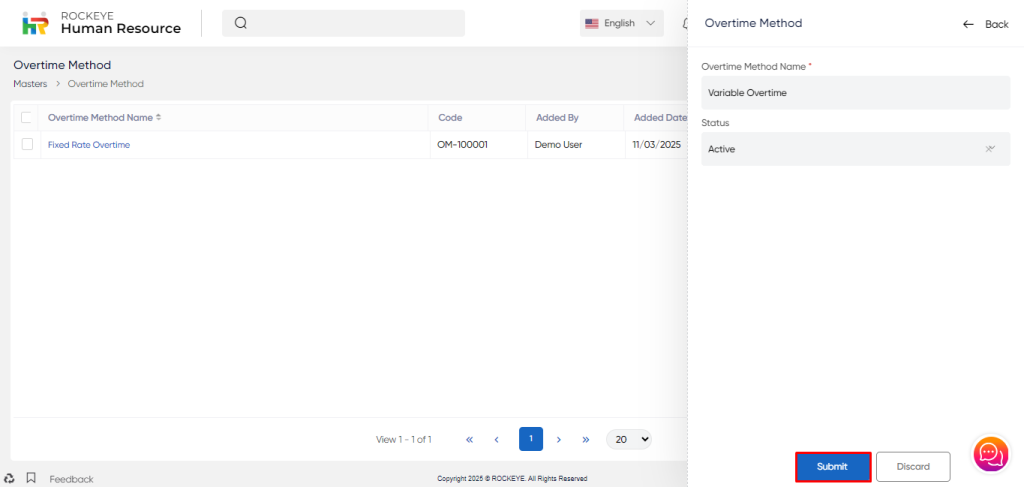
- Overtime Method Name*: Overtime Method Name is a field that specifies the name of the Overtime Method Name.
- Status*: This indicates the current status of the Overtime Method, such as active, inactive and pending.
The user can perform the following actions in this section:
- Submit: This option allows the user to Submit/Save the new Overtime Method.
These Overtime Method records will get saved if No approval flow is defined and if any approval flow is defined it will go for approval to the respective approving authority.
- Discard: This option allows the user to discard the record and no changes will get created if adding or changes will not get saved if updating.
Along with the “Add New button” users also have the “Sync Button”.
Sync:
- The user first has to select at least one break record from the list, then click on the sync button.
- After clicking on the sync button, the user will be able to view a pop-up message asking, "Are you sure you want to do this action". Along with this text, the user also performs the following action:
- Submit: The Submit button allows the user to submit the record for syncing with the timesheet.
- Cancel: This option allows the user to cancel the selection and go back to the Overtime Method listing page.
- Action: The action option allows the user to edit the record if the record has not been approved or if the user is the final approver. Users can also view the Activity Log for that transaction.
- Edit: On clicking the edit option, the user will be able to edit the Overtime Method record.
The user will be able to perform the following actions in this section:
- Update: This option allows the user to update the Overtime Method record.
- Discard: This option allows the user to discard the Holiday Calendar record and does not change the selected record.
- Activity Log: In the Activity Log option, the user can view the transaction history of the Overtime Method, such as:
- Status (pending, Submit for Approval, approved).
- Time and Date of Transaction
- Execution time
Refrence Video Link