Driver Management
Purpose : Allows you to view, add, and manage the profiles of all your drivers.
Navigation: Manage > Drivers
Viewing the Drivers List
The drivers list provides a summary of all registered drivers in the system.
- Filters: You can filter the list to view drivers based on their current status using the buttons at the top:
- ALL: Displays all registered drivers.
- ACTIVE: Shows only drivers who are currently active and available for assignments.
- INACTIVE: Displays drivers who are registered but are not currently available for work.
- SETUP ACCOUNT: Shows drivers whose profiles have been created but their accounts are not yet fully configured or activated.
- Driver Information: Each card in the list displays key details:
- Driver Photo: A profile picture of the driver.
- Name: The full name of the driver and their display name.
- Phone Number: The driver's contact number.
- License No.: The driver's license number.
- Expiry Date: The expiration date of the driver's license.

Adding a New Driver
To add a new driver to the system, follow these steps:
- From the drivers list screen, tap the "+" floating action button at the bottom-right corner.
- The "Add Driver" form will appear. Fill in the required fields under the following sections:
- Personal Information:
- First Name*, Middle Name, Last Name*: The driver's full name.
- Display Name*: The name that will appear on the system's interface.
- Email*: The driver's email address.
- Reference Number: An optional internal reference number for the driver.
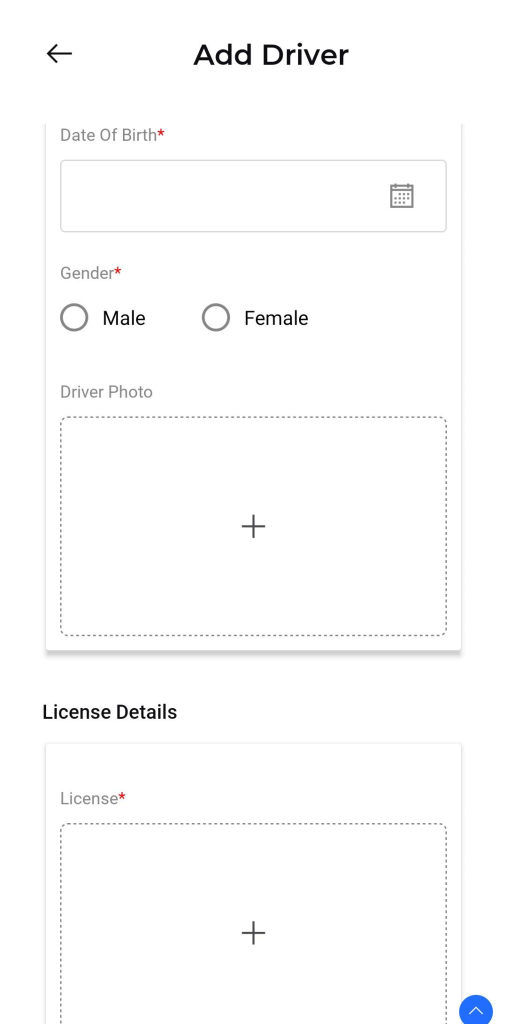
- Date Of Birth*: The driver's date of birth.
- Gender*: Select either "Male" or "Female."
- Contact Details:
- Phone*: The mandatory primary phone number for the driver.
- Alternative Phone no: An optional secondary phone number.
- Country*, State*, City*: Select the driver's geographic details from the dropdown menus.
- Street: The street address of the driver.
- Driver Photo: Tap the "+" icon to upload a clear photograph of the driver.
- License Details: Tap the "+" icon to upload images of the driver's license. This is a mandatory step.
- Personal Information:
- Once all required fields are completed, tap the Add button to save the new driver. The driver's status will be set to SETUP ACCOUNT until the account is fully configured.
- To cancel the action, tap the Discard button.

Managing a Driver
Tapping the three-dot menu on a driver's card will reveal a list of management options:
- Edit: Use this option to modify any of the driver's details, such as personal information, contact details, or license information.
- Delete: This option allows you to permanently remove the driver's profile from the system. Use this with caution.