Human Resource
Exited Employee
Introduction/Purpose:
Employee Exited in HRMS is used to manage and record details of employees who have left the organization due to resignation, termination, retirement, or any other form of separation. It helps ensure proper documentation and compliance during the offboarding process.
How to Navigate:
The navigation to record an exited employee in the HRMS system typically involves the following steps:
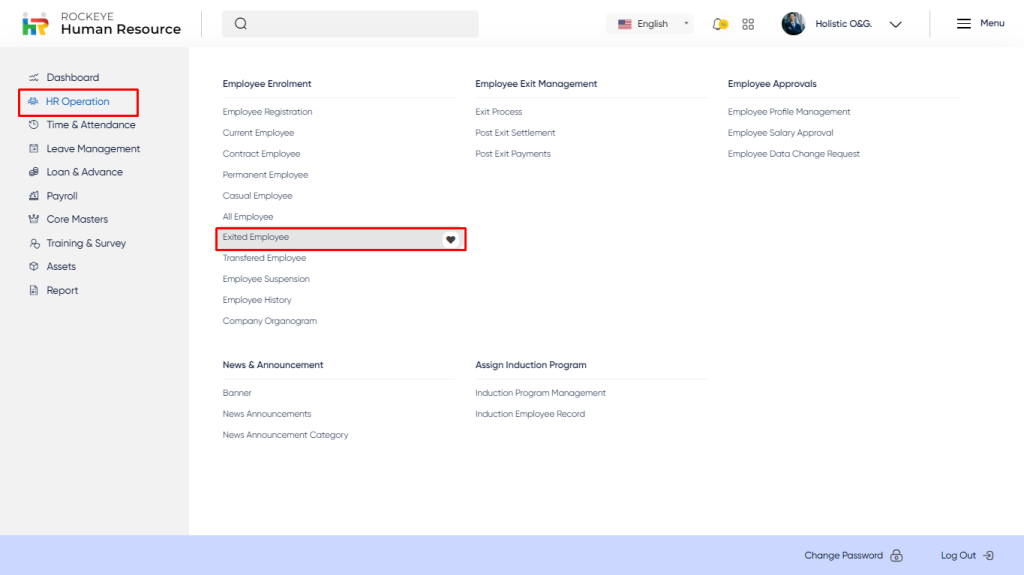
- Click on the main navigation icon, which is located on the top right corner of the screen then click on the HR operation section which is located on the left side menus on the screen.
- Click on the Exited Employee section, which is located in the Employee Enrollment under HR operation. After clicking on this link, you can navigate to the Exited Employee listing, and from that, you can initiate employee transfer.
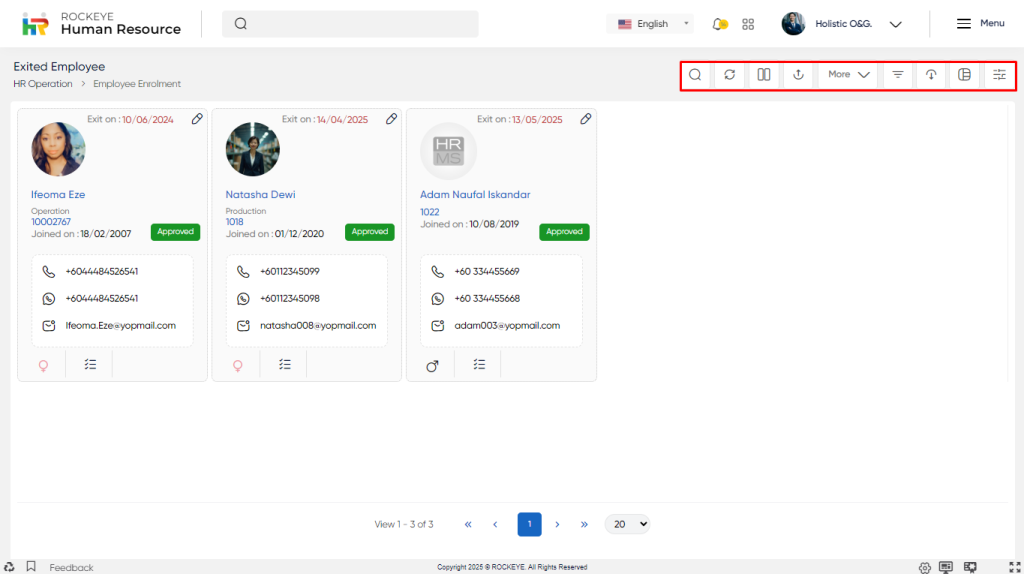
Listing:
The Exited Employee listing allows users to view all exited employees and select an employee for transfer. The key features of the employee transfer listing are included below:
- Record Filter: Filter employee records by visible columns such as Employee Name, Date Range, Start/End Date, and Approval Status.
- Change View: Switch between different views to manage and review employee data.
- Grid View: Block-style view with limited info.
- Table View: Column-wise listing with action options like Edit Profile and Activity Logs.
- List View: List wise record displayed
- Import: Import multiple employee records module-wise into the HRMS system.
- Change Sorting: Sort employee data by Name, Employee Code, Gender, and other available fields.
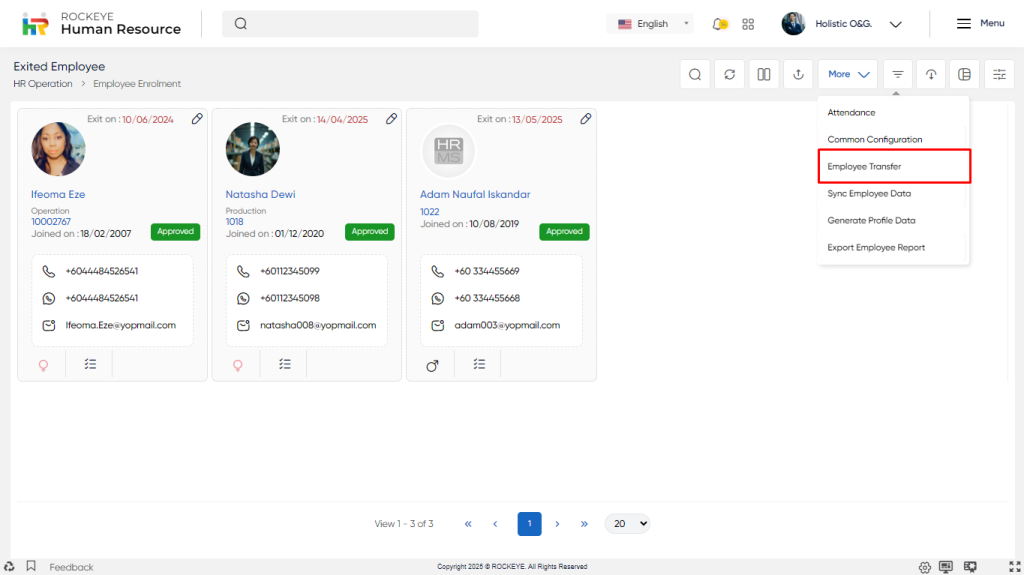
- Employee Transfer: Select employees and initiate transfer steps via this option.
- Advanced Search: Filter data using multiple criteria such as Equal, Not Equal, Begins With, Contains, etc., across any field.
- Export Data: Export selected records, the current page, or all records with listed or all columns to a spreadsheet or other formats.
- Hide/Show Columns: Customize visible columns on the listing page.
- Must select at least one column; otherwise, an error is shown.
- Ok: Applies column selection.
- Cancel: Discards changes.
- Must select at least one column; otherwise, an error is shown.
- Show All Listing Columns: Clears filters and displays all data.
- Action Options: Manage records with the following options (if not approved or user is final approver):
- Edit: Modify employee profile.
- Activity Log: View transaction history, including:
- Status (Pending, Submitted, Approved)
- Date and time of actions
- Execution time
Recording & Update:
Employee transfers allow moving employees to other associated companies within the organization. Only active, exited employees (checkbox-enabled) can be selected for transfer.
Transfer Details
Employee Transfer
- Target Company Name*: Select the destination company where the employee will be transferred. It must differ from the current company.
- Transfer Date*: The date from which the transfer becomes effective.
- Job Status*: Define the employee’s new employment status post-transfer (e.g., Probation, Confirmed).
- Confirmation Date: Optional field applicable if Job Status is set to Probation. Specifies the date of confirmation.
- Salary Structure: Choose a salary structure already defined in the target company.
- Effective Date: Defaults to the Transfer Date. Can be changed, but not set earlier than the transfer date.
- Holiday Group: Select the applicable holiday group in the target company.
- From Date: Defaults to Transfer Date (can be modified with restrictions).
- Leave Group: Assign a leave group from the target company.
- From Date: Auto-set to Transfer Date (editable, but must not precede it).
- Roster Group: Allocate a roster group valid in the target company.
- From Date: Defaults to Transfer Date (can be modified with restrictions).
- Actions
- Submit: Finalizes the transfer. The employee’s data is created in the target company in draft status and will require approval (if workflow is defined).
Discard: Cancels the process; no data is saved or transferred.
- Submit: Finalizes the transfer. The employee’s data is created in the target company in draft status and will require approval (if workflow is defined).
Key Notes:
- Employee transfer can only be initiated after successful exit and financial settlement in the current (exited) company.
- Once transferred, the employee record appears in draft status in the target company. Authorized users of the target company can review, edit if required, and submit the record. If an approval flow exists, the record will be routed for approval; otherwise, it will be auto-approved upon submission.