Browse
Document Hierarchy: The left panel displays a hierarchical structure of all folders within the system.Users can click on any folder to expand and view its contents.
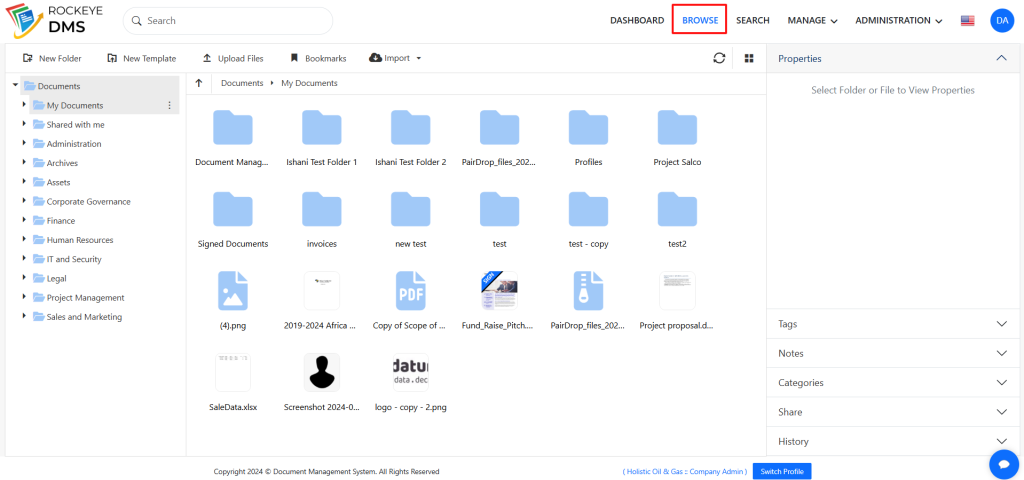
Creating and Managing Folders: Users can create new folders to organize files by project, department, or purpose. To create a folder, select *New Folder at the top, name it, and it will appear within the selected directory.
File and Folder Actions
Rockeye DMS offers a range of actions for file and folder management to streamline document organization:
- New Folder : Click on the New Folder to create a new folder.
- Creating New Templates: Users can create document templates by selecting New Templates.
- Upload Files: Click Upload Files to select files from your device and upload them to the DMS. Uploaded files will appear in the selected folder.User can upload files by just dragging and dropping.
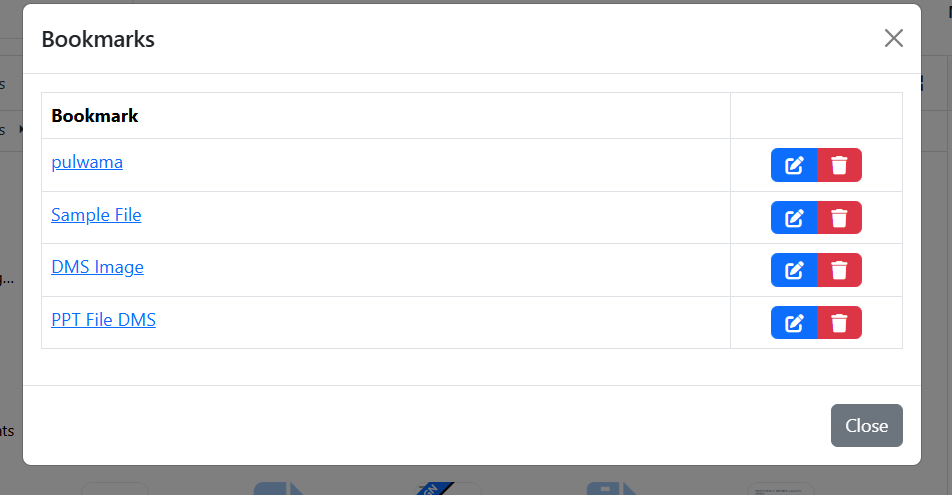
- Bookmark : A pop will be displayed clicking on the bookmark with list of the previously added bookmark files and folders
- User will be able to rename the name of bookmark
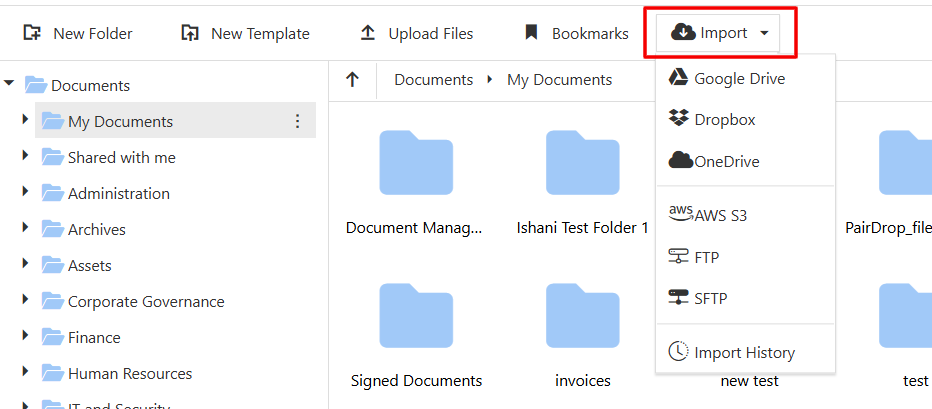
- Import Options: The Import menu provides options to import files from other sources, such as google drive ,Dropbox,One Drive,AWS S3,FTP,SFTP.

Properties Panel
The Properties panel on the right side of the interface displays detailed information about selected files or folders.This includes information that helps users organize and quickly find files.
- Viewing File Properties: Select a file or folder, and the Properties panel will show information like tags, notes, categories, sharing options, and history.
- Tags, Notes, and Categories: Users can assign tags to categorize files, add notes for additional context, and organize files into categories.
- Share : This section shows details about files or folders shared with other users. It displays the name of the user the file is shared with and, if applicable, the expiration date of their access.
- History: The History section logs changes to a document, such as edits or uploads, helping users track the file’s version and modification history.This section also has a Auto-Version Control that automatically tracks and saves different versions of a file, ensuring users can access and restore previous versions as needed.

Activities and Task Assignment Functionality
The Activity section enables users to efficiently assign, track, and complete tasks, collaborate among assignees, ensuring clear progress tracking, and timely completion.
Assign Task Button
Function:
When the Assign Task button is clicked, users can assign tasks to individuals by specifying the type of task. There are two task types available:
- General Task: This option allows users to assign a task to any individual for completion.
- Approval Task: This option assigns the task to a user for approval or rejection.
.
- Details Included: This section provides important information about the user to whom the file or folder is shared.
Task Details
- Profile Icon: Displays the initials of the user with whom the file is shared and what type of task is allocated.
- Name: Shows the name of the user assigned to the task.
- Date and Time: Indicates the date and time the task was assigned.
- Status : The Status of the task is displayed (Pending,Completed )
- Comments: Displays any comments posted by the assignee related to the task.
More Options
- Modify: Users can edit or update the comment they posted.
- Delete: Clicking the Delete option will remove the activity and related comments for the user.
If the user to whom the task is assigned views the task they will get an option to “Mark as Complete”,User will be able to view the users to whom the task is assigned and action done by each user
Task Assignment and Notifications
The Task Assignment ensures seamless collaboration by allowing users to assign tasks with specific details.
Steps for Assigning a Task
- Select Assignee:
- The user can select an assignee only from the list of individuals with whom the file or folder is shared.
- Add a Comment (Optional):
- A message or comment for the assignee can be added in the message field.
- Set Due Date:
- The user must select a due date by which the task should be completed or approved.
- The due date will be displayed in the task details section.
- Notification to Assignee:
- Once a task is assigned, the system sends a email notification to the assignee, informing them of the task.
Viewing and Managing Tasks
- Task View:
- Clicking on the Task option allows users to view all tasks allocated to them, along with relevant details, including attachments.
- View All Tasks:
- The View All Tasks option opens a page displaying a list of all tasks assigned to the user.
- Selecting a specific task from the list will display its full details.
- Task Details:
- Users can view all task-related information, including comments, due dates, and attached files.
Comment Notifications
- Users can collaborate about the tasks by tagging and commenting to each other for which the system sends the email notification with a message to the respective user.
- Users can see the time stamped messages in the chat panel.