Introduction/Purpose
Routes module enables users to create and modify routes according to their specific requirements. When scheduling trips, users can conveniently select pre-configured routes from the list.In summary, by selecting pre-configured routes when creating scheduled trips, users can enhance their planning process and optimize their overall productivity.
Dependencies
- System Performance: System should respond properly to save the route in Database.
- Location Data: Users must have added the locations into the system to create a route users will have to select origin location and destination location .
How To Navigate?
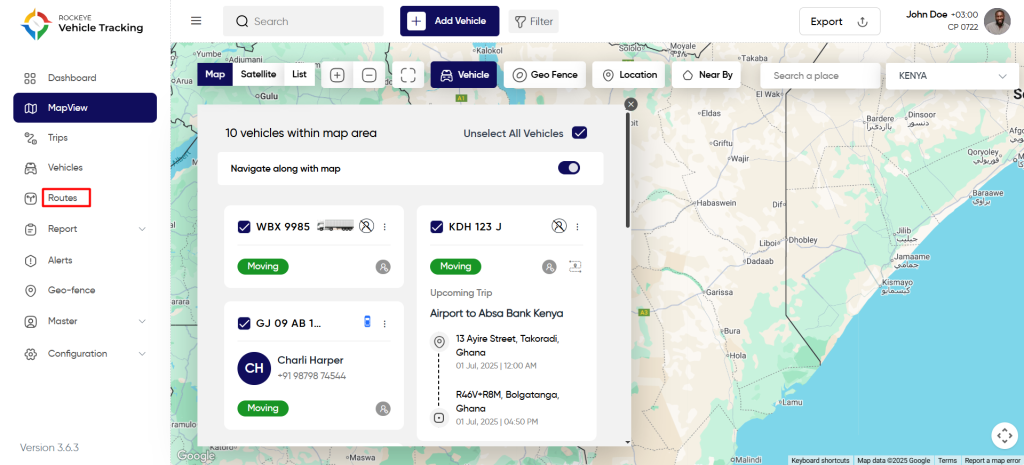
Side Menu >> Routes
The navigation to access the Routes typically involves the following steps:
- Click on the Routes icon: On clicking on Routes from the side navigation menu, the user will be redirected to Routes Listing
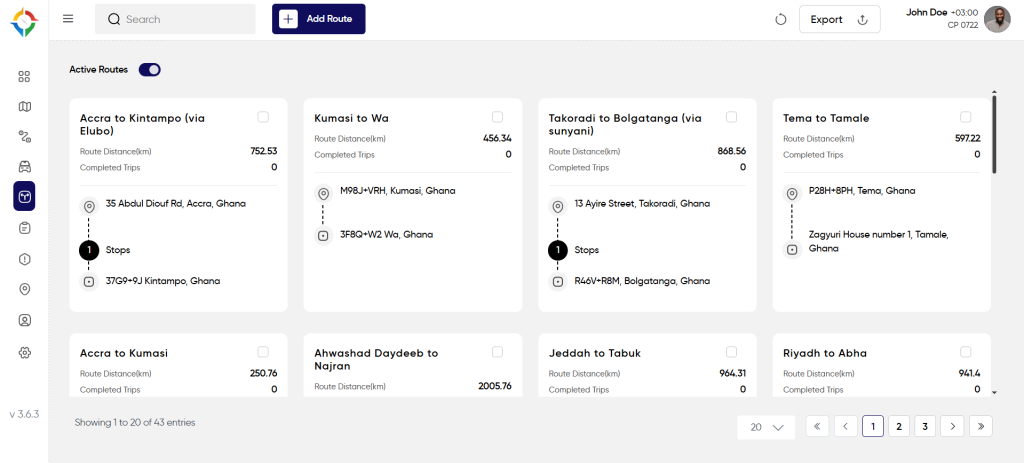
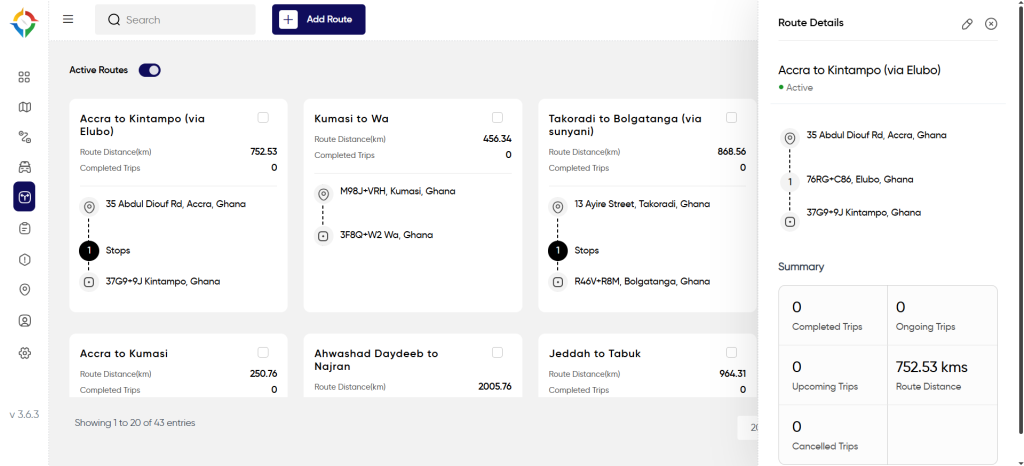
Route List
Admin will be able to view Routes details in the Routes listing page. Admin will be able to view the following details of every Route.
- Route Name
- Location
- Distance
- Completed trips
- From location – To Locations
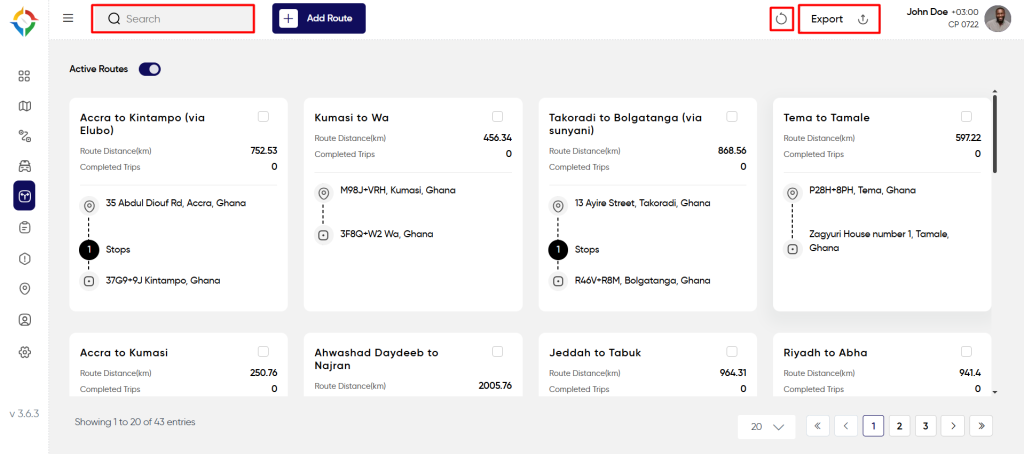
Users will be able to perform the various operations:
- Refresh
- Search
- Export
- Active /Inactive Toggle switch
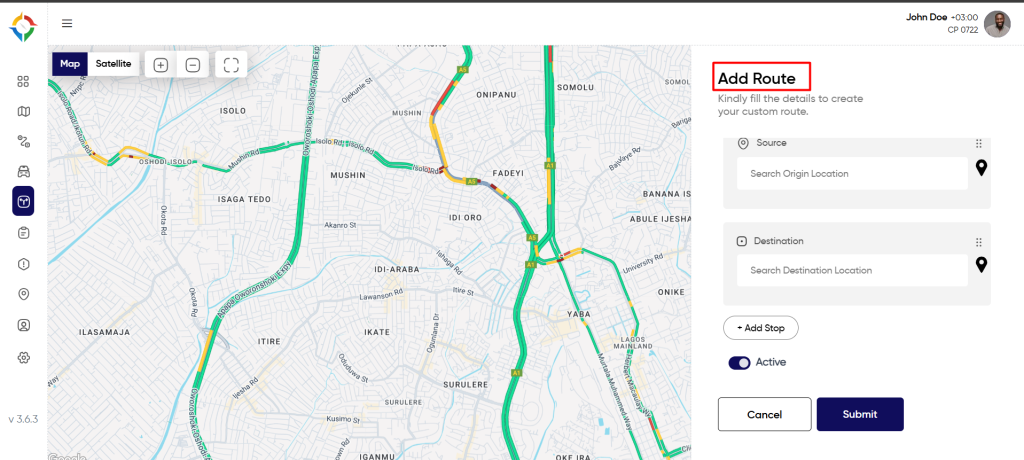
Add New Routes
User will be able to fill the following details to add a new Routes
- Route Name
- Source
- Destination
- Add stop for multi locations
- To add stoppages in between the origin and destination, click on the “Add Stop” button as shown below:
Once the form is completed, click on the “Submit” button to successfully add the “Routes” in the system.
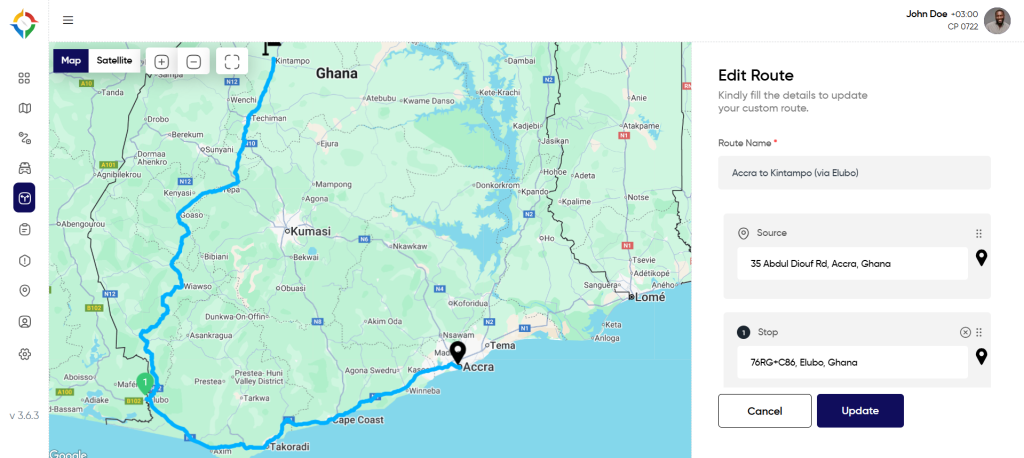
Update Route
Step 1: Click on the “Name” of the route as shown below.
Step 2: Update the route details as required and click on the “Update” button to update the route successfully.
Key Notes :
At this screen, users will be able to view all the added routes in the system. These routes can be used in creating the trips.