Customers
Introduction/Purpose:
The module "Customers" plays a critical role, intended to oversee and optimize engagements with customers of the tracking system. It provides an extensive array of tools and functionalities, serving to efficiently oversee, track, and engage with the user community of the system. This module acknowledges the importance of customers as the primary recipients of the tracking service, with the objective of delivering a notable level of contentment. Its fundamental aim is to enable efficient communication, deliver tailored services, and guarantee a smooth encounter for both administrators of the tracking system and the customers.
Dependencies/Assumptions
The dependencies of the customers module in the smart tracking system can vary depending on the specific design and implementation of the system. The dependencies that might exist:
- System Performance: System should respond properly to retrieve, process and save data accurately.
- Database: The customers module is likely to depend on a DBMS to store and manage customer-related data. This could include information like customer names, contact details, etc.
- User Interface (UI) Layer: The customers module includes a user interface for viewing and managing customer information, it will depend on the UI layer for displaying data and receiving user input.
- Email Services: The module requires a connection to email services for sending verification emails, password reset link email, and other customer-related communications.
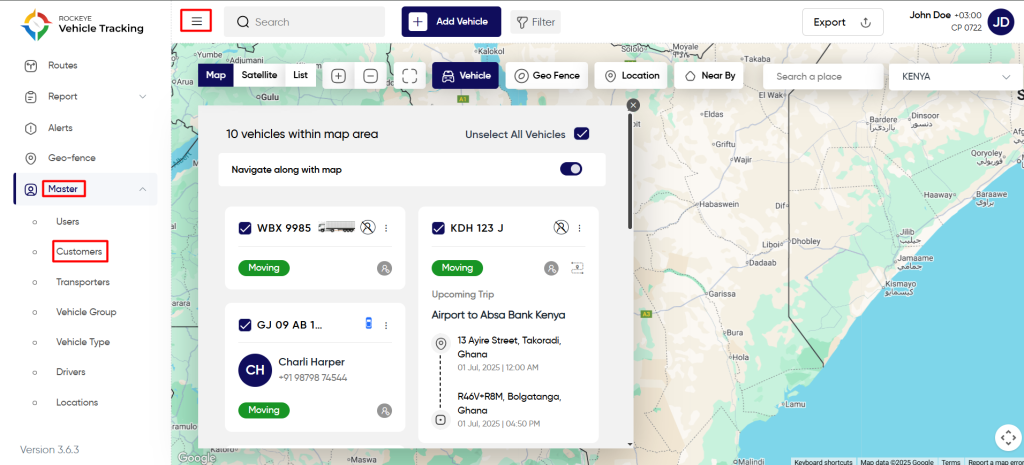
Navigation To Customer Module
Hamburger Menu >> Masters >> Customers
Side Menu >> Masters >> Customers
The navigation to customers module typically involves the following steps:
Click On customers Under Master Module: Users can hover to the left side of the screen to access the navigation menu. The Customers module is located in the Masters module as shown below.
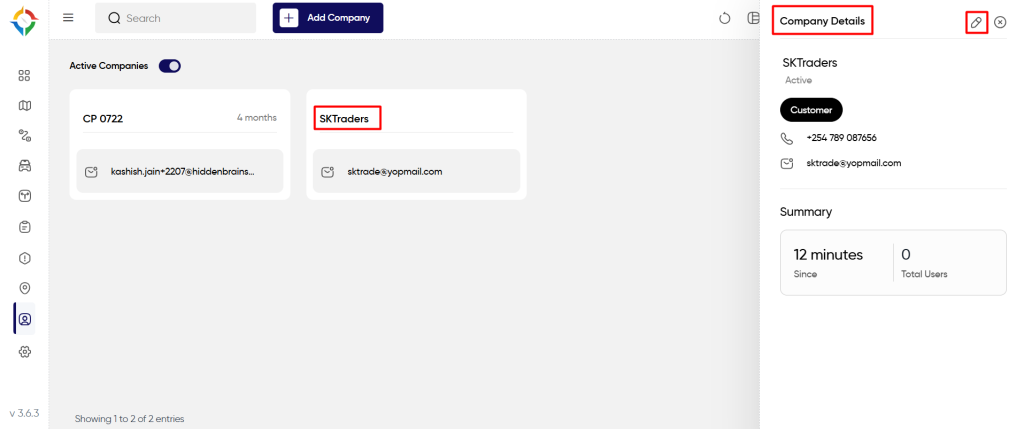
Customer List
Admin will be able to view customer details in the customer listing page. Admin will be able to view the following details of every customer.
- Name - Name of the customer.
- Email - Email address of customer.
- Modified Date - Date of last modification.
- Last Access - Date of the last access of the system.
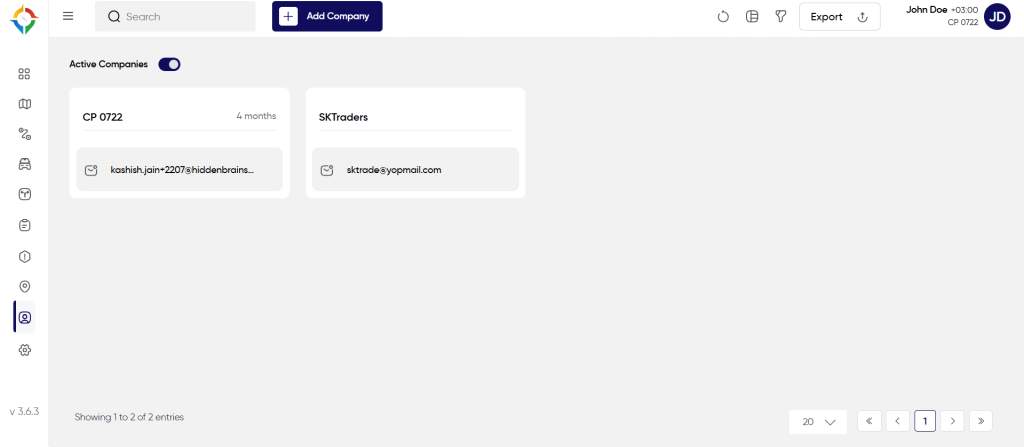
Users will be able to perform the various operations:
- Refresh
- Switch View
- Filter
- Export
- Active /Inactive Toggle switch

Action
The admin will be able to resend the invitation only if the customers have not verified their email invitation yet, as shown below.
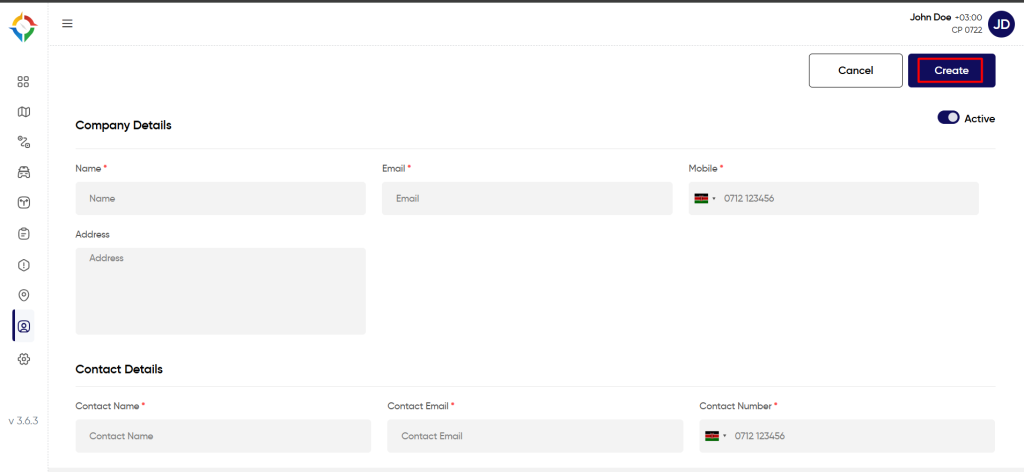
Add New Customer
User will be able to fill the following details to add a new customer
- Name
- Mobile
- Address
- Contact Name
- Contact Email
- Contact Number
Once the form is completed, click on the “Submit” button to successfully add the customer in the system and the system will send an verification email to the specified email address.
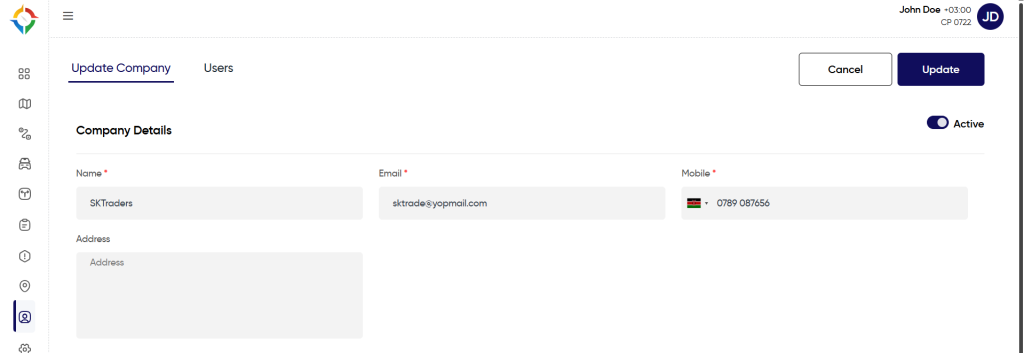
Update Customer
Step 1: Click on the “Name” of the customer as shown below.
Step 2: Update the customer details as required and click on the “Update” button to update the Customer successfully.