Transport Management
Manage Trips
Purpose
Allows you to create, view, and manage all transportation trips. This knowledge base article provides a guide to navigating the trip list, creating new trips, and using the various management features.
Viewing the Trips List
The trip list provides a summary of all scheduled, active, and completed trips.
- Filters: You can filter the list to view trips based on their current status using the buttons at the top:
- ALL: Displays every trip registered in the system.
- SCHEDULED: Shows trips that have been planned and assigned but have not yet started.
- UPCOMING: Displays trips that are scheduled for a future date.
- ON GOING: Shows trips that are currently in transit.
- Delivered : Shows trips that are Completed.
- Trip Information: Each card in the list displays key details:
- Trip ID: A unique reference number for the trip (e.g., “HOG/TRP/25/07/0003”).
- Trip Status: The current status of the trip (e.g., SCHEDULED, DELIVERED).
- Vehicle: The registration number of the assigned vehicle.
- Driver Name: The name of the assigned driver.
- Scheduled Date: The date and time the trip is scheduled to start.
- Origin & Destination: The starting and ending locations of the trip.

Creating a New Trip
To create a new trip, you will use a multi-step form.
- From the trip list screen, tap the “+” floating action button at the bottom-right corner.
- The “Create Trip” form will appear, guiding you through a series of steps (1 to 5).
- Step 1: Cargo Section
- Vehicle Type*: Select the type of cargo the vehicle will be carrying from the provided options (e.g., Wet Cargo, Dry Cargo, Bulk Cargo, Container).
- Product Name*: Enter or select the specific product being transported.
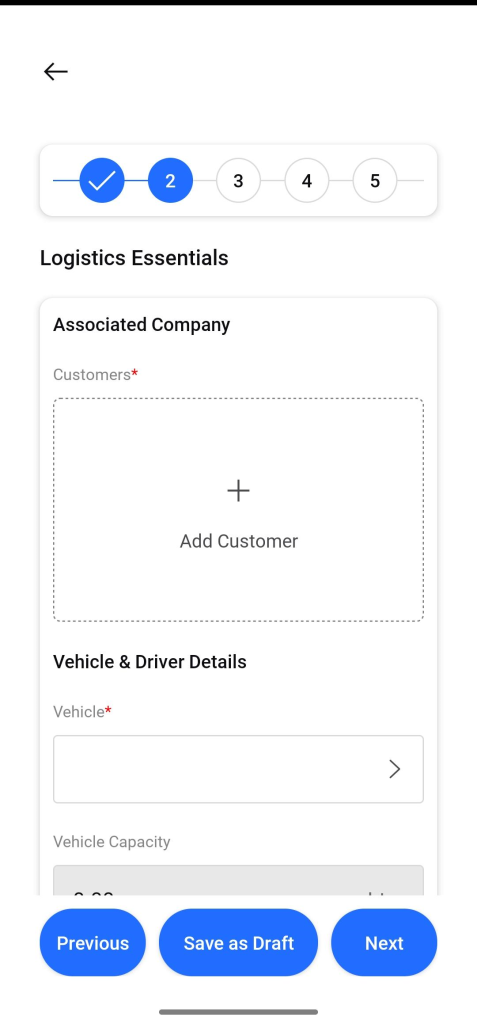
- Step 2: Logistics Essentials
- Associated Company (Customers)*: Add the customer(s) for this trip.
- Vehicle*: Select the vehicle to be used for the trip.
- Driver Details: Add the driver(s) who will be operating the vehicle.
- After completing each step, you can use the action buttons at the bottom:
- Previous: Return to the previous step.
- Save as Draft: Save the current progress without creating the trip.
- Next: Proceed to the next step of the form.
Scan
Purpose
To log or manage parking-related information for the driver’s assigned vehicles (e.g., parking fees, location, duration).
Navigation
Trips→ SCAN
Description
Vehicle Field: Input the vehicle registration number or ID (required to associate parking data with the correct vehicle).
QR Code Button (Bottom-Right): Scan parking tickets or access digital parking records via QR codes.
