Maintenance & Service
Introduction/Purpose
The Vendors Master module in a Computerized Maintenance Management System (CMMS) is designed to manage external agencies responsible for executing work orders assigned to them. These vendors can either be organizations consisting of technicians or individual entities. The Vendors Master module enables company administrators or managers to onboard vendors seamlessly, assign roles, and ensure efficient task delegation.
By maintaining a structured record of vendors, this module ensures accountability, facilitates resource management, and enhances collaboration with external entities. It plays a critical role in ensuring that maintenance operations are carried out efficiently and in a timely manner by leveraging external expertise.
Dependency
The Vendors Master module relies on the following dependencies for proper functioning:
- Name: Full name of the vendor for identification.
- Email: Contact email address for correspondence and login credentials.
- Password: A secure credential for vendor access to the system.
- Gender: Optional demographic information of the vendor.
- Phone Number: Contact number for communication and notifications.
- Group (Role): The role of the vendor, such as Technician, Vendor, Manager, or Admin, defining their access and permissions.
- Locations: A location must be allocated to each vendor during onboarding to facilitate work order assignment and management.
Key Notes:
- The Vendors Master module streamlines vendor onboarding and ensures role-based access control for secure and efficient collaboration.
- Provides a centralized repository for managing vendor profiles, including their contact details, roles, and assigned locations.
- Enhances system performance by allowing quick and efficient vendor data management and integration with work orders.
- Ensures that only authorized users with valid access rights can perform operations in this module.
- Plays an essential role in maintaining a smooth workflow by bridging internal teams and external vendors.
This module is integral to efficient maintenance operations, enabling organizations to manage their vendor relationships effectively and ensure successful execution of assigned tasks.
How To Navigate To Vendor
The navigation includes the following steps for viewing the “vendor master” in the computerized maintenance management system.
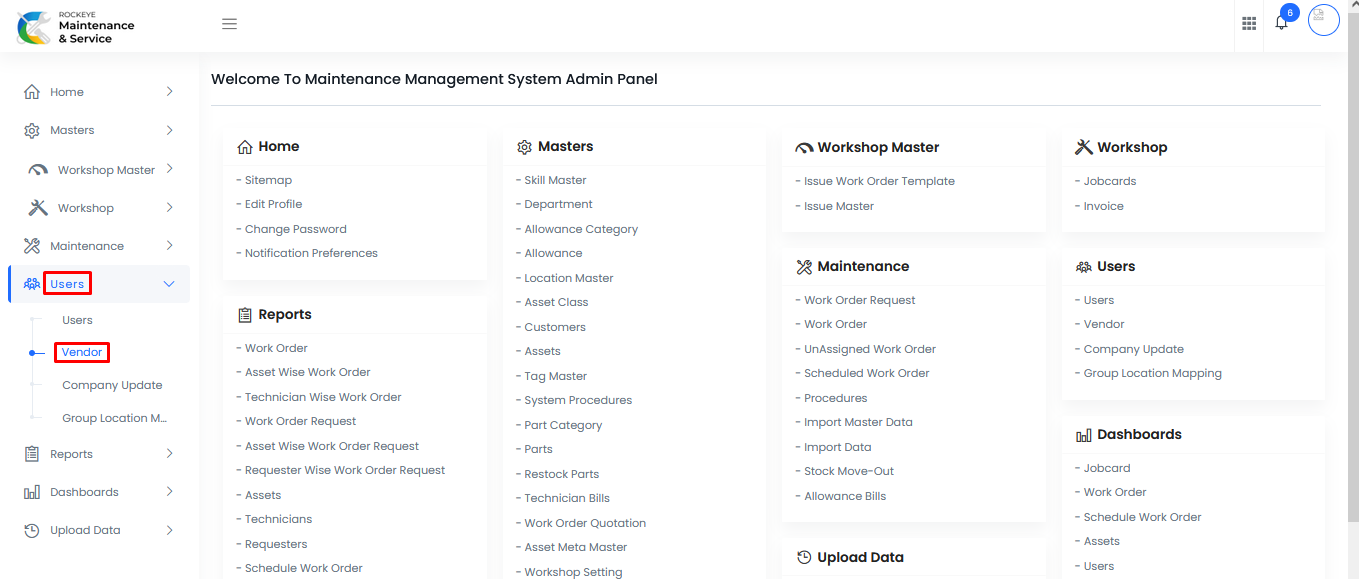
- Click on the Users tab: The users can be accessed by clicking on the user tab on the side menu.
- Click on Vendor: The “vendor” can be accessed by clicking it from the user section.
Vendor Tab Listing
A vendor listing in a computerized maintenance management system is a feature that provides a list of all vendors.
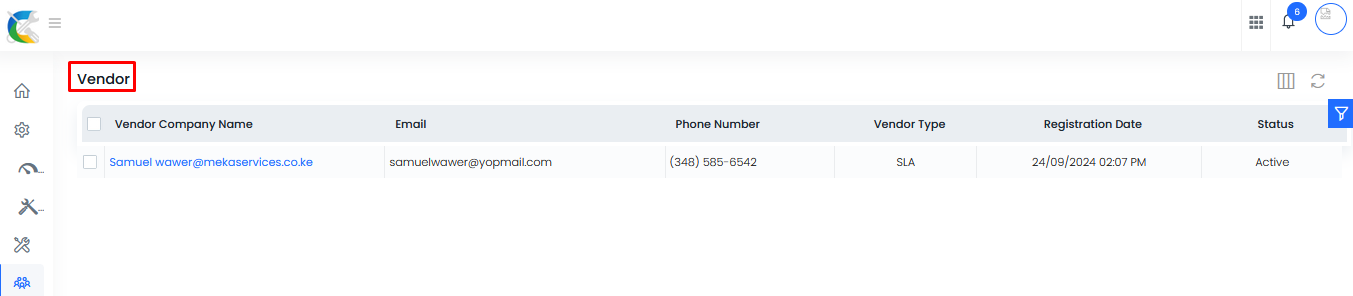
- Users can view the following information in the vendors listing page
- Vendor Company Name
- Phone Number
- Vendor Type
- Registration Date
- Status
Note :
- The system will be configured based on client requirements. Vendors can either be added from the ERP central, where the role can be set as “Vendor,” or directly through the “Add Vendor” form in the Vendor module.
- User will be able to add the vendor with the following details:
- Name
- Phone number
- Company name (if added through central)
- Choose Role (if added through central)
- Password for vendor login
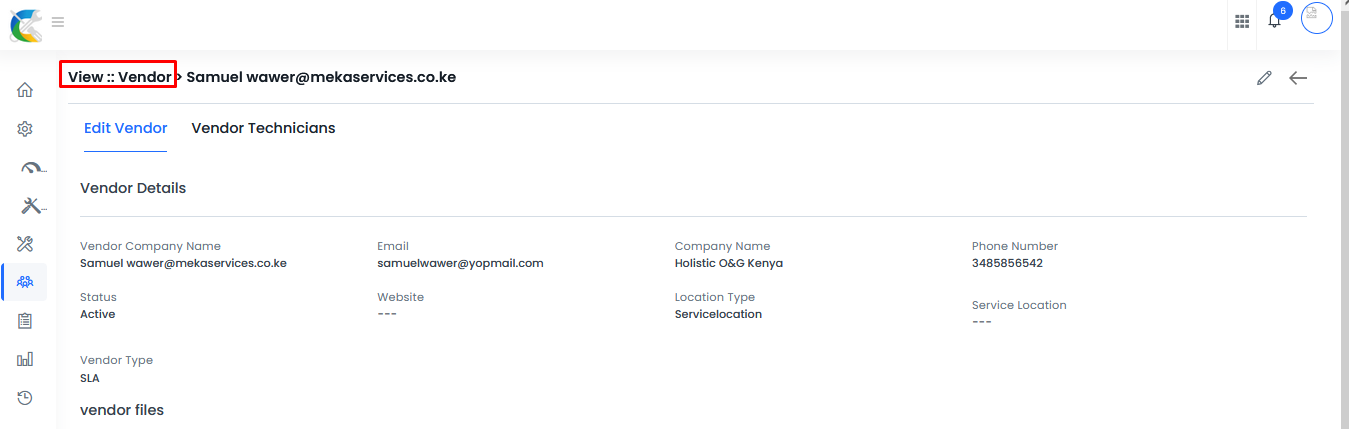
Vendor – View form:
- Users will be able to view the details of the existing vendors with the details as shown in the below screen.
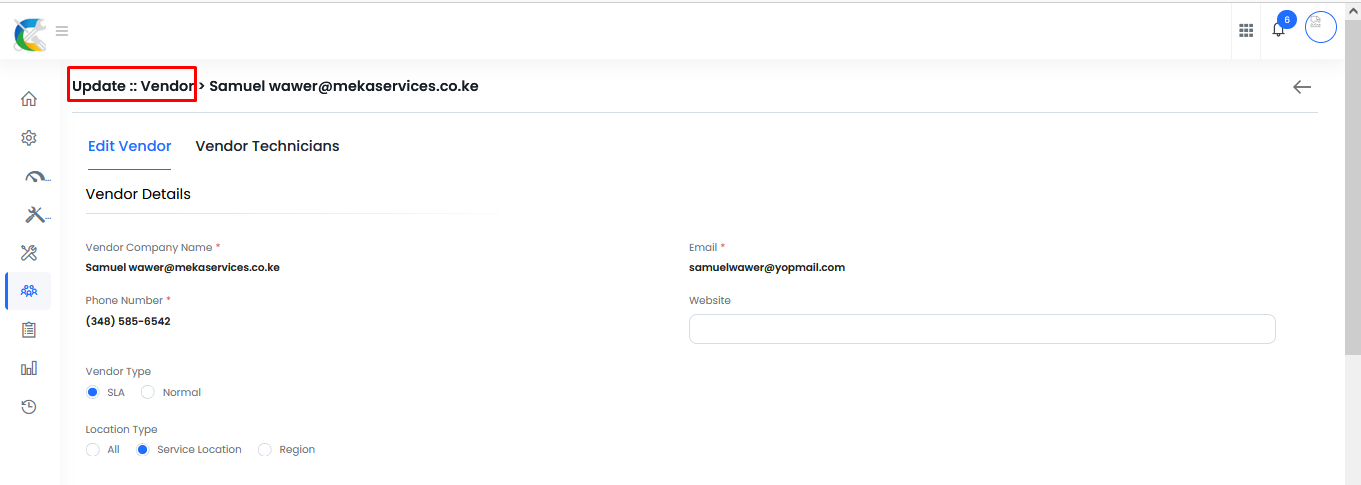
Users – Recording & Update
- Users will be able to edit and update the “vendor” details as shown in below screen.
User can perform the following actions
- Show all listing records: This functions like a refresh icon, retrieving and displaying all records in the listing.
- Hide / Show Columns : This function allows users to hide or show the specific columns by checking the checkboxes. Users can also access the “check all” and “uncheck all” columns.
- Filter (show left panel search): The “Filter” function in the “vendor” allows users to customize their view of all “vendors” based on specific criteria.

Users can perform the following actions:
- Save: The “Save” function allows the user to submit the required information while creating a new “vendor”.
- Discard: The “Discard” function allows the user to cancel the submission of information provided at the time of creating a new “vendor”.