Maintenance & Service
Introduction/Purpose
The Assets Master in a Computerized Maintenance Management System (CMMS) serves as a centralized repository for managing and organizing asset-related information critical to maintenance operations. It enables users to define, view, and maintain detailed records of assets, including their names, associated asset classes, locations, and owner details. This comprehensive repository ensures seamless integration of asset data into maintenance workflows, facilitating efficient tracking, management, and utilization of assets across operations.
By maintaining accurate and detailed information, the Assets Master supports the effective allocation and monitoring of assets, ensuring that each asset is correctly identified and managed within the system. This repository is pivotal for creating work orders, as it ensures that the necessary asset details are readily accessible and correctly linked to the relevant maintenance tasks.
The Assets Master enhances overall operational efficiency by providing a structured framework for asset management, contributing to improved maintenance planning and execution.
Dependency
The Assets Master in a CMMS relies on the following dependencies to ensure accurate configuration and functionality:
- Asset Name: Specifies the name of the asset for identification and tracking within the system.
- Asset Class: Links the asset to a predefined class, enabling categorization and association with relevant procedures (pre and post-job card processes).
- Location: Indicates the geographical or operational location of the asset, ensuring accurate placement and reference in maintenance activities.
- Owner Name (Customer): Associates the asset with its respective owner (customer), facilitating streamlined communication and accountability.
- Status: Users must select the current status of the asset (active or inactive) to determine its availability within the system.
By maintaining these dependencies—asset name, asset class, location, owner name, and status—the Assets Master effectively supports the creation and management of work orders, ensuring precise asset utilization and maintenance task execution.
How To Navigate To Asset
The navigation includes the following steps for viewing the assets in the computerized maintenance management system.
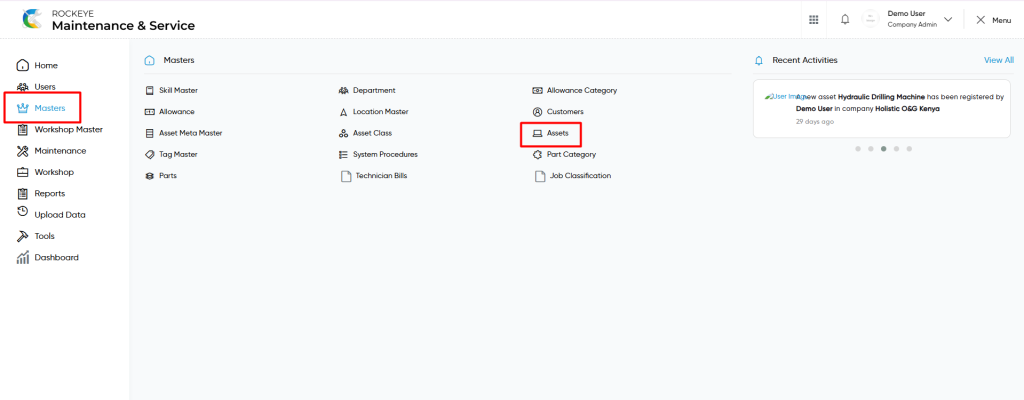
- Click on the Master tab: The master can be accessed by clicking on the Master tab on the side menu.
- Click on Asset: The asset master can be accessed by clicking it from the master section.
Asset Master Tab Listing
An asset master listing in a computerized maintenance management system is a feature that provides a list of all assets.

- Users can view the following information in the asset listing page
- Asset Name
- Asset Code
- Parent Asset
- Location
- Work Order Count
- Status
User can perform the following actions
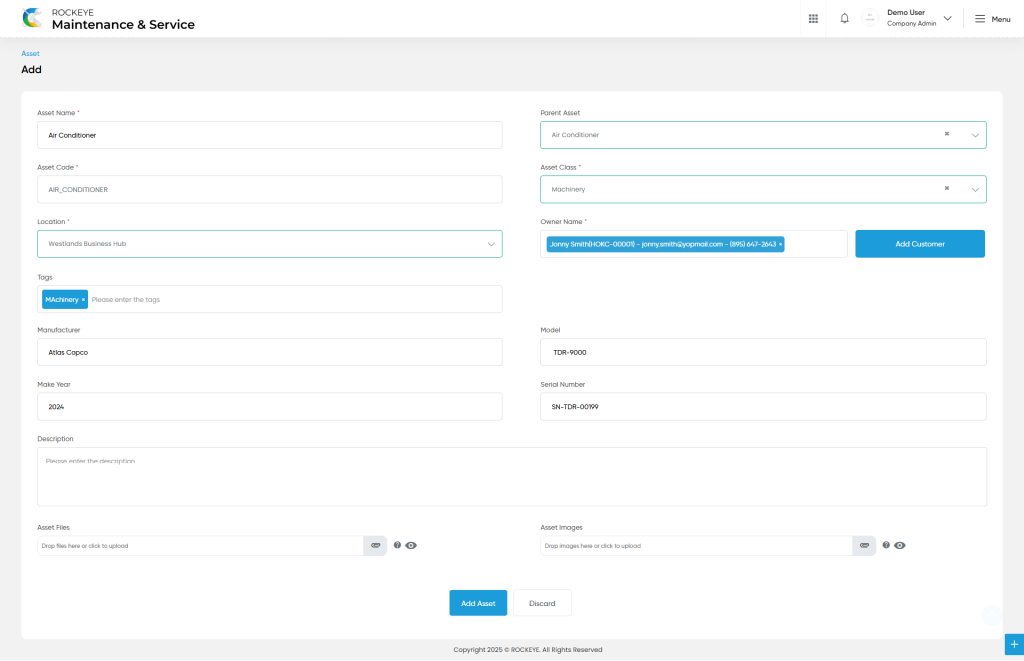
- Add new: The “Add new” function allows you to create and add new assets to the system as shown in the below screen.
- User will be able to add the assets with the following fields
- Company Name (Required) :
- This company name will be generated automatically once opening the asset add form.
- Parent Asset :
- This is specified to choose the parent asset using the dropdown list. Previously added assets can choose from parent asset dropdown to map with any specific asset.
- Asset Name (Required) :
- This is specifying the asset name of the asset master.
- Asset Class (Required):
- This is specifying to choose the asset class using the dropdown list. Asset class data is coming from the asset class module.
- Asset Code (Required) :
- The asset code will be generated automatically once the asset name is entered. The asset code can also be changed manually.
- Manufacturer :
- This is specifying the manufacturer of the asset.
- Location (Required) :
- This is specifying to choose the location of the asset using the dropdown. The locations will come from the location master.
- Owner Name (Required) :
- This is specifying to choose the owner name / customer of the asset using the dropdown. These “owner names” will be coming from the customer master.
- Can add the owner by clicking on “Add customer” and add the customer details which is the same as customers add form flow. Data which are added here (Add customer) will be updated in the customer master.
- Description :
- This is specifying the description of the asset.
- Model :
- This is specifying the model of the asset.
- Status (Required):
- This is specified to choose the status of the asset as active / inactive / archive.
- Make Year :
- This is specifying the make year of the asset.
- Tags :
- This is specifying to choose the tags of the assets using the dropdown list. Tags will be coming from the tag master.
- Specify the tags and will be automatically updated in the tag master.
- Asset Images :
- This is specifying to choose the asset images of the asset
- Asset Files :
- This is specifying to choose the asset files of the asset.
- Company Name (Required) :
- Advanced Search : The “Advanced Search” function enables searching using multiple field names with multiple conditions to find specific data. The “Search” function allows the user to look for a specific entry within the available data and presents results that match the search parameters.
- Hide / Show Columns : This function allows users to hide or show the specific columns by checking the checkboxes. Users can also access the “check all” and “uncheck all” columns.
- Export: The “Export” feature allows users to export selected or all data in CSV or XLS or PDF format.
- Show all listing records: This functions like a refresh icon, retrieving and displaying all records in the listing.
- Quick Search : This “Quick Search” feature allows users to search the data from individual fields.
- Filter: The “Filter” function in the asset master allows users to customize their view of assets based on specific criteria.
- Change View : The Change View feature allows users to toggle the list & table views in the listing data.
List View :
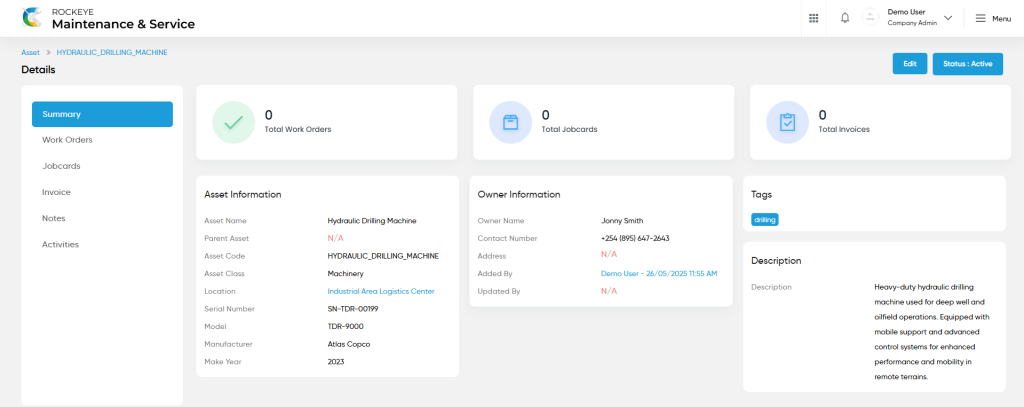
- Users will be able to view the details of the existing assets with the details as shown in the below screen.
Assets – Recording & Update
- Users will be able to edit and update the asset details as shown in below screen.
Users can perform the following actions:
- Save: The “Save” function allows the user to submit the required information while creating a new asset.
- Discard: The “Discard” function allows the user to cancel the submission of information provided at the time of creating a new asset.