Employee
Introduction/Purpose :
The purpose of “employee” aspects within staff in an attendance management system is to streamline and optimize various HR processes to ensure effective human resource management and improve overall organizational performance.
In Employees, the user can view all current employees.
How to Navigate :
The navigation to record an employee in the Attendance Management system typically involves the following steps:
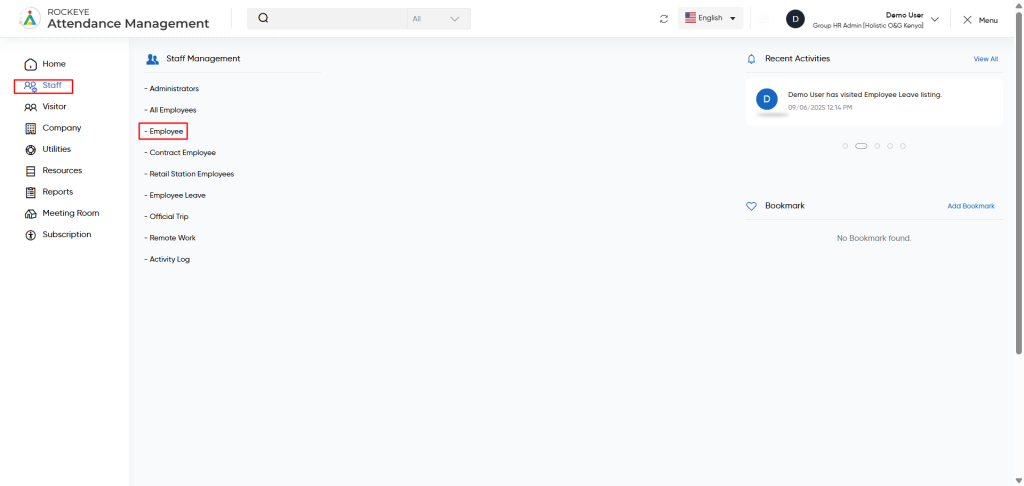
- Click on the main navigation icon, which is located on the top right corner of the screen then click on the Staff section, which is located on the left side menus on the screen.
- Click on the Employee section, which is located under Staff. After clicking on this link, you can navigate to the employee listing.
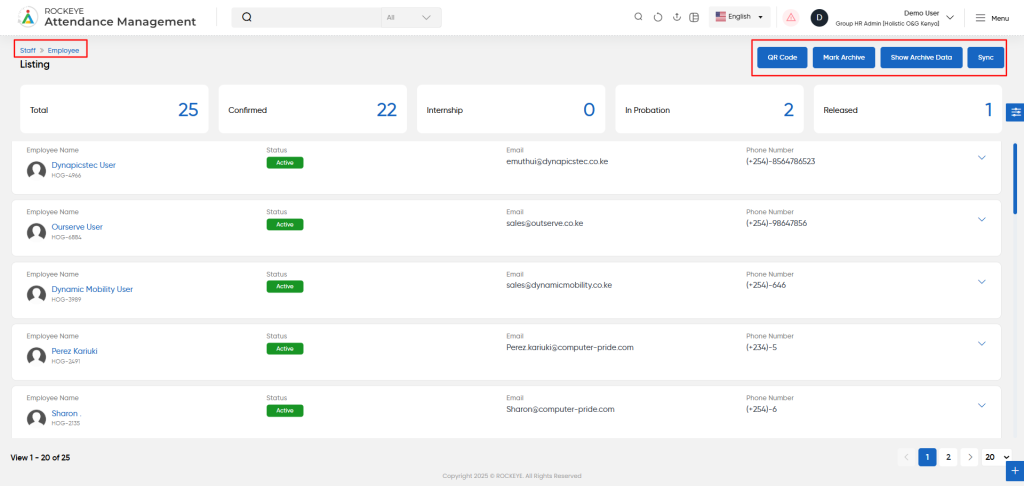
Listing
The employee module allows the user to view all the active and inactive employee records. The key features of the employee listing is included below
- Profile Image
- Employee Name
- Employee Code
- Phone number
- Birth Date
- Department
- Designation
- Reporting Senior
- Company Name
- Location
- Shift Roster
- QR Code
- Employment Date
- Relieving Date
- RFID number
- Employment Status
- Face Process Status
- Access Type
- Mobile Application Status
- Status
- QR Code
Reporting and Update
This section allows the admin to add and configure a new employee’s profile, assign work parameters, and manage attendance-related preferences. The screen is divided into multiple sections for clarity and completeness.
- Personal Information
- This section collects basic personal details:
- First Name & Last Name: Enter the employee’s legal name.
- Phone Number: Mobile number, with auto-selected country code.
- Email: Official email address of the employee.
- Gender: Select one of the radio buttons: Male, Female, or Other.
- Birth Date: Pick from the calendar to input the employee’s date of birth.
- Profile Image: Upload a professional photo of the employee (optional but recommended).
- Employment Details
- Key organizational and HR-related data:
- Employee Code: A unique identifier for the employee (manual or system-generated).
- Location: Select the physical or branch location where the employee will be based.
- Reporting Senior: Choose the supervisor or manager to whom the employee reports.
- Designation: The role/title held by the employee.
- Department: Department to which the employee belongs (e.g., HR, Sales).
- Employment Date: Date on which the employee officially joins the organization.
- Employment Status and Category
-
- Employment Status: Choose from options such as Full-time, Part-time, Contract, etc.
- Category: Can be used to further classify staff (e.g., Permanent, Temporary, Trainee).
- Shift and Scheduling
Used to define the employee’s working schedule:
- Shift Roster: Select a predefined shift template (e.g., Morning, Night).
- Required Check-In: Select Yes if the employee must check in daily.
- Week Off Preference: Choose whether the employee prefers a specific weekly off day.
- Temporary Shift Timings
This is helpful for assigning custom or temporary shifts:
- From Date / To Date: Define the validity of the temporary schedule.
- Shift Time In / Shift Time Out: Specify shift start and end time.
- Minimum Working Hours: Define the required minimum hours for the shift.
- Status: Mark the shift as Active or Inactive.
- Actions: Use the trash icon to delete a temporary shift line.
Click “+ Add New” to insert multiple temporary shifts.
- Other Information
Miscellaneous but important administrative settings:
- Comment: Add any notes about the employee (e.g., probation status, special conditions).
- Attachments: Upload documents such as offer letter, ID proof, etc.
- Access Type: Defines the employee’s access level in the system (e.g., No Access, View Only, Admin).
- Status: Set the user as Active or Inactive in the system.
Action Button
- Save: Submits the data and creates the employee profile.
- Discard: Cancels all entries and returns to the previous screen.
- In the employee listing screen, each employee record includes a QR code option . Clicking on any employee,will download a unique QR code assigned to that specific employee.
- This QR code can be used during attendance punch-in:
- When the employee arrives at the workplace, they can scan the QR code.
- The system will read the QR and register the punch-in or punch-out time accurately.
Note: Ensure the employee has access to a copy of the QR code for successful scanning.