Banner Management
Introduction/Purpose
The Banner Management section allows admins to create, organize, and control visual banners displayed across different areas of the system. This helps in delivering announcements, branding, or important messages to users in a structured and visually appealing manner.
How To Navigate
The navigation to record the banner management in the attendance management system typically involves the following steps:
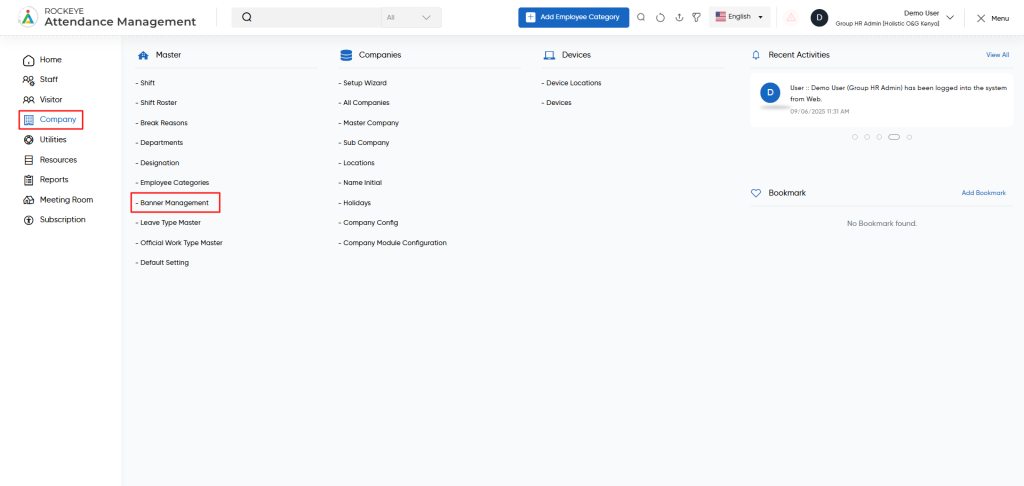
- Click on the main navigation icon, which is located on the top right corner of the screen, and then click on the company section, which is located on the left side menus on the screen.
- Go to Company > Masters > Banner Management.
Banner Listing View
The listing screen displays all existing banners with the following details:

- Banner Image—Displays the uploaded image of the banner.
- Banner Name—Name or title of the banner.
- Banner Location—Where the banner is shown within the system (e.g., dashboard, login screen).
- Added By—Name of the user who uploaded the banner.
- Added Date—Date the banner was created/added.
- Status—Indicates whether the banner is active or inactive.
How To Add Banner
To add a new banner, the user needs to fill in the following details:
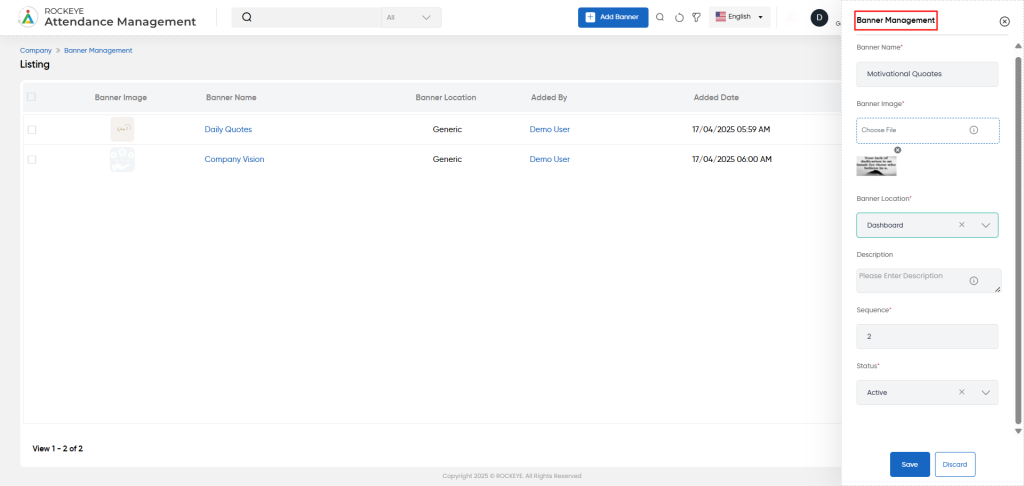
- Banner Name* – Enter a meaningful name for the banner.
- Banner Image* – Upload the banner image file (drag & drop or select from device).
- Banner Location* – Specify where the banner should appear in the system.
- Description – (Optional) Add relevant details or notes about the banner.
- Sequence* – Enter the display order if multiple banners are used.
- Status* – Set the banner as Active or Inactive.